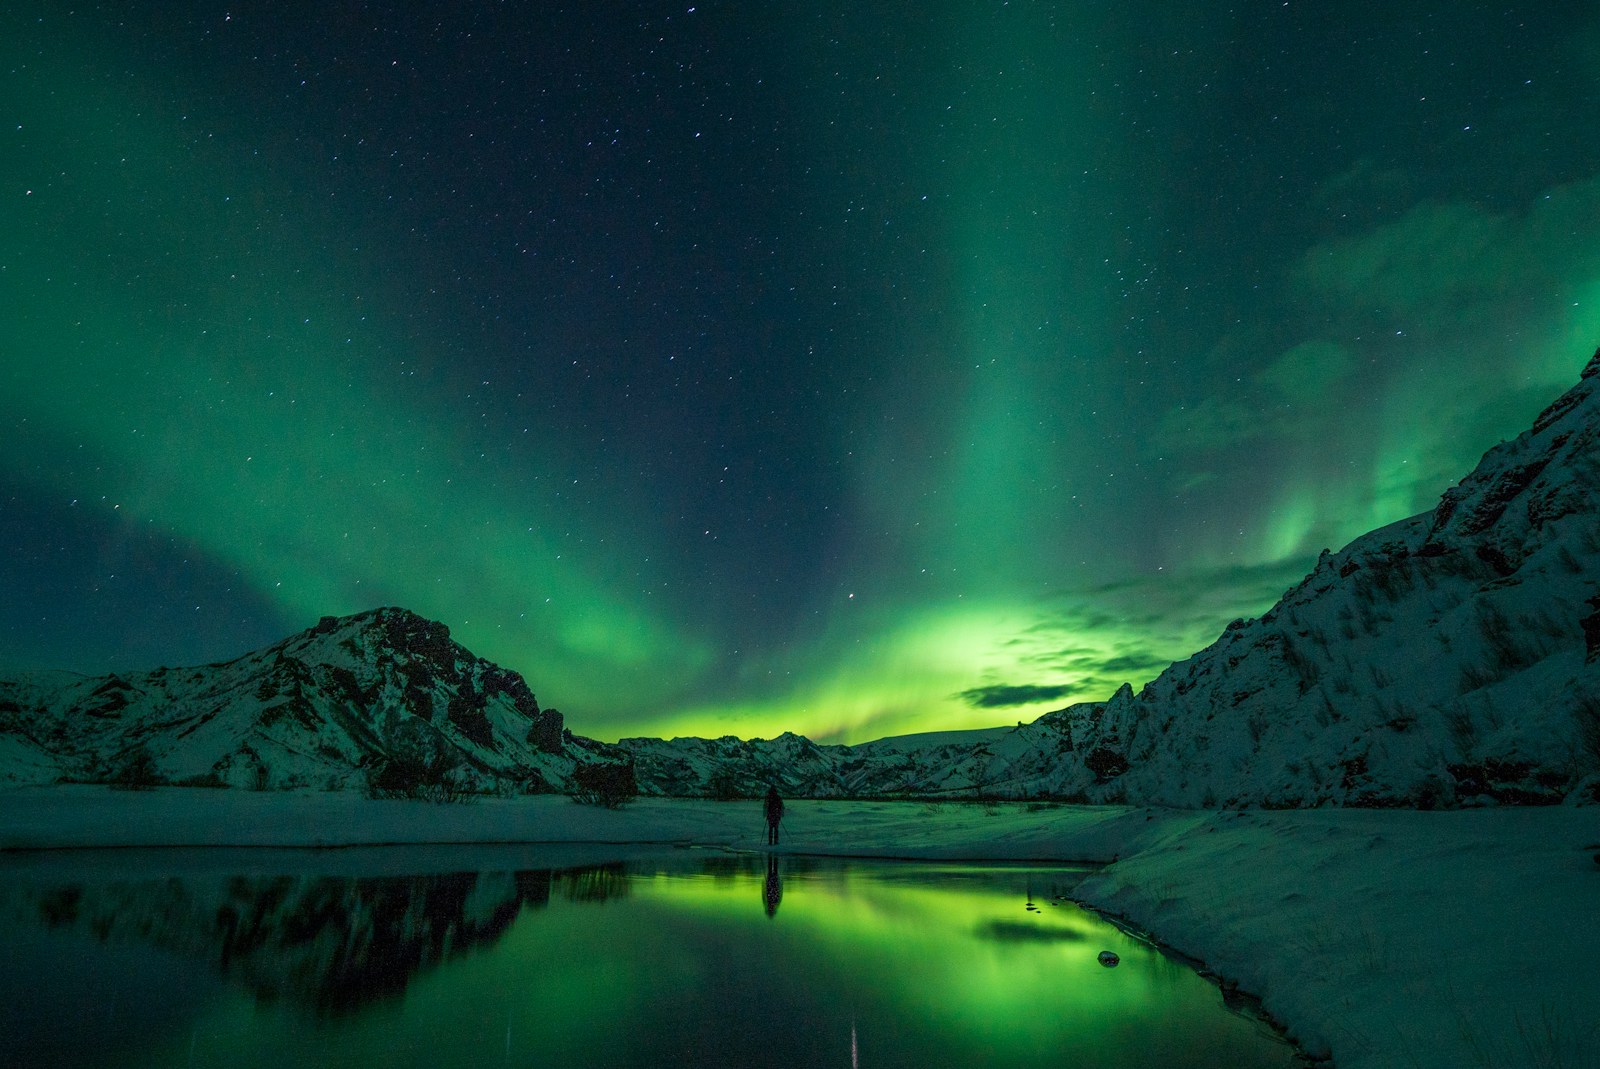
Capturing the mesmerizing Northern Lights in Scandinavia is an unforgettable experience that combines the beauty of nature with the art of photography. It’s a dream for many photographers, but to transform that dream into reality, one must be well-prepared both technically and mentally. This guide offers a comprehensive look at how to make the most of this unique opportunity, ensuring you walk away with stunning images and cherished memories. Scandinavia offers a wide range of stunning locations to capture the Northern Lights. Research and scout for ideal spots in advance to ensure you are in the best position to witness this natural phenomenon. Explore different vantage points and consider factors such as light pollution and accessibility to find the perfect location for your Northern Lights photoshoot.
Understanding the Northern Lights
Before diving into the technical aspects, it’s essential to understand what the Northern Lights are and why Scandinavia is such a prime location. The Northern Lights, or Aurora Borealis, occur when charged particles from the sun collide with atoms in Earth’s atmosphere. This beautiful display is most commonly seen in the polar regions. Scandinavia, particularly areas like Norway, Sweden, and Finland, lies within the Aurora Zone, making it an ideal destination for witnessing this phenomenon.
Best Times to See the Lights
The Northern Lights are typically visible from September to March, with peak visibility during the winter months when the nights are longest and darkest. This period is often referred to as the “aurora season.” While the dark skies of winter provide a perfect backdrop, keep an eye on geomagnetic activity forecasts, which can indicate the strength and likelihood of auroral displays.
Weather Considerations
Clear skies are crucial for visibility. Keep an eye on local weather forecasts and aurora activity predictions. Websites and apps like the Aurora Forecast app or the Norwegian Meteorological Institute’s site can offer real-time updates. It’s also wise to understand local weather patterns; for instance, coastal areas may have more cloud cover, whereas inland locations might offer clearer skies.
Location Scouting
Ideal Locations
Scandinavia is dotted with numerous spots perfect for aurora photography. Some of the most popular locations include:
- Tromsø, Norway: Often referred to as the “Gateway to the Arctic,” Tromsø offers numerous vantage points both in the city and the surrounding wilderness.
- Abisko National Park, Sweden: Known for its unique microclimate, Abisko is one of the most reliable places to see the Northern Lights due to its clear skies.
- Finnish Lapland: The vast, snow-covered landscapes of Lapland provide a serene backdrop for aurora photography.
- Lofoten Islands, Norway: These islands offer dramatic mountain landscapes with fjords and sea views, making for stunning compositions.
- Rovaniemi, Finland: Known as the hometown of Santa Claus, Rovaniemi offers both urban and rural settings for capturing the auroras.
Scouting Tips
- Research Local Guides: Consider hiring a local guide who knows the best spots and can provide insights into aurora activity. They can also offer cultural context and local stories that enrich your experience.
- Light Pollution: Choose locations away from city lights to enhance the visibility of the auroras. There’s nothing more frustrating than a great aurora show washed out by artificial lighting.
- Accessibility: Ensure the locations are accessible, especially in winter conditions. Remote spots might require snowmobiles or guided tours. Check local transportation options and be prepared for snow-covered roads.
Camera Settings
Capturing the vibrant colors and intricate patterns of the Aurora Borealis requires precise camera settings. Here’s a deeper dive into how to set up your camera for success:
Aperture, Shutter Speed, ISO
- Aperture: Use a wide aperture (such as f/2.8 or lower) to allow maximum light into the camera sensor. This is crucial given the low-light conditions.
- Shutter Speed: A longer shutter speed (10-30 seconds) helps capture the movement and intensity of the lights. However, adjust based on the aurora’s activity to avoid overexposure. A rapidly moving aurora might require a shorter exposure to prevent blurring.
- ISO: Start with an ISO setting of 1600 and adjust as needed. Higher ISO settings increase light sensitivity but can introduce noise. Experiment with ISO settings between 800 and 3200 to find the sweet spot for your camera.
White Balance
- Manual Adjustment: Set your white balance manually to a cooler setting (around 3500K) to counteract the warm tones and better capture the aurora’s greens and purples. Some photographers prefer setting it to “daylight” to keep the colors natural.
Focus
- Infinity Focus: Set your lens to infinity focus. Use live view and manually adjust focus to ensure the stars are sharp. This can be tricky in the dark, so practice focusing at infinity before your trip.
- Test Shots: Take test shots and zoom in on the LCD screen to confirm focus accuracy. Digital cameras often display lower resolution previews, so be meticulous in checking focus.
Tripod and Remote Shutter
Stability is key when photographing the Northern Lights. Use a sturdy tripod to keep your camera steady during long exposures and prevent camera shake. Additionally, consider using a remote shutter release to minimize any vibrations caused by physically pressing the shutter button, resulting in sharper images.
Equipment Tips
- Tripod Stability: Invest in a tripod with a hook where you can hang a weight (like your camera bag) to increase stability in windy conditions. Look for tripods with spiked feet for grip on icy surfaces.
- Remote Options: If you don’t have a remote shutter, use your camera’s timer function to reduce vibrations. A 2-second delay is often sufficient.
Composition and Framing
While the auroras themselves are breathtaking, creative composition can take your images to the next level.
Foreground Interest
- Incorporate Landscapes: Include mountains, trees, or bodies of water in your shots to give context and depth. The reflection of the aurora in a calm lake can double the visual impact.
- Human Element: A silhouette of a person gazing at the lights can add scale and emotion to your photograph. This can be you or a willing companion, adding a narrative to the scene.
Leading Lines
- Natural Lines: Use natural features like rivers or roads to lead the viewer’s eye toward the auroras. These lines can guide the viewer through the image, creating a more engaging composition.
- Rule of Thirds: Position the horizon in the lower third of the frame to focus on the sky while maintaining a balanced composition. This classic rule of thumb helps to create a pleasing arrangement.
Patience and Perseverance
The Northern Lights are a natural phenomenon, and their appearance can be unpredictable. Be prepared to spend time waiting for the perfect moment to capture the lights at their peak intensity. Stay patient and resilient, understanding that capturing the Northern Lights requires persistence and a willingness to adapt to changing conditions.
Mental Preparedness
- Dress Warmly: Layer up to stay comfortable during long periods outdoors in freezing temperatures. Consider thermal undergarments and windproof outer layers.
- Snacks and Warm Drinks: Bring thermoses with hot drinks and snacks to keep energy levels up. Dehydration can be an issue in cold, dry air, so remember to drink water as well.
Post-Processing
After capturing the images, post-processing can help enhance the colors and details of the Northern Lights. Use editing software to adjust the contrast, saturation, and white balance to bring out the full beauty of the Aurora Borealis in your photographs.
Editing Tips
- Software Choices: Use tools like Adobe Lightroom or Photoshop for detailed adjustments. Both offer robust capabilities for editing RAW files, which retain more data than JPEGs.
- Noise Reduction: Apply noise reduction carefully to maintain detail while minimizing graininess. Be cautious not to overdo it, as this can lead to loss of detail.
- Highlight and Shadow Adjustments: Balance the highlights and shadows to ensure the auroras stand out without losing details in the foreground. Use the histogram to guide your adjustments, ensuring no clipping occurs.
Respect the Environment
When photographing the Northern Lights in Scandinavia, it is crucial to respect the environment and follow local regulations. Be mindful of the delicate ecosystems in these regions and practice Leave No Trace principles to minimize your impact on the surroundings.
Environmental Considerations
- Stay on Trails: Adhere to designated trails and areas to protect the natural habitat. Wandering off-trail can damage fragile tundra and disturb wildlife.
- Leave No Trace: Pack out everything you bring in, including any trash or food waste. Even biodegradable materials like banana peels take longer to decompose in cold climates.
Safety First
Photographing in remote, cold locations comes with risks. Prioritize safety to ensure a successful and enjoyable experience.
Safety Tips
- Check Weather Conditions: Monitor forecasts for sudden changes that could affect your plans. Winter weather can change rapidly, so be prepared for snow squalls and strong winds.
- Stay Connected: Inform someone of your location and expected return time, especially if venturing alone. Consider carrying a personal locator beacon for emergencies.
- Emergency Gear: Carry a basic first-aid kit, flashlight, and portable charger for your phone. Extra batteries for your camera are also essential, as cold temperatures can drain power quickly.
Additional Resources
To further enhance your Northern Lights photography skills, consider utilizing additional resources:
- Online Communities: Join forums and social media groups dedicated to aurora photography for shared advice and inspiration. Sites like 500px and Flickr have groups specifically for Northern Lights photography.
- Workshops and Tours: Enroll in specialized photography workshops or guided tours to learn from experts and access exclusive locations. These can provide invaluable hands-on experience and tips from seasoned photographers.
By following these expert tips and delving into the nuances of aurora photography, you can increase your chances of capturing stunning images of the Northern Lights in Scandinavia. With the right preparation, patience, and respect for nature, you can create lasting memories of this awe-inspiring natural spectacle.


