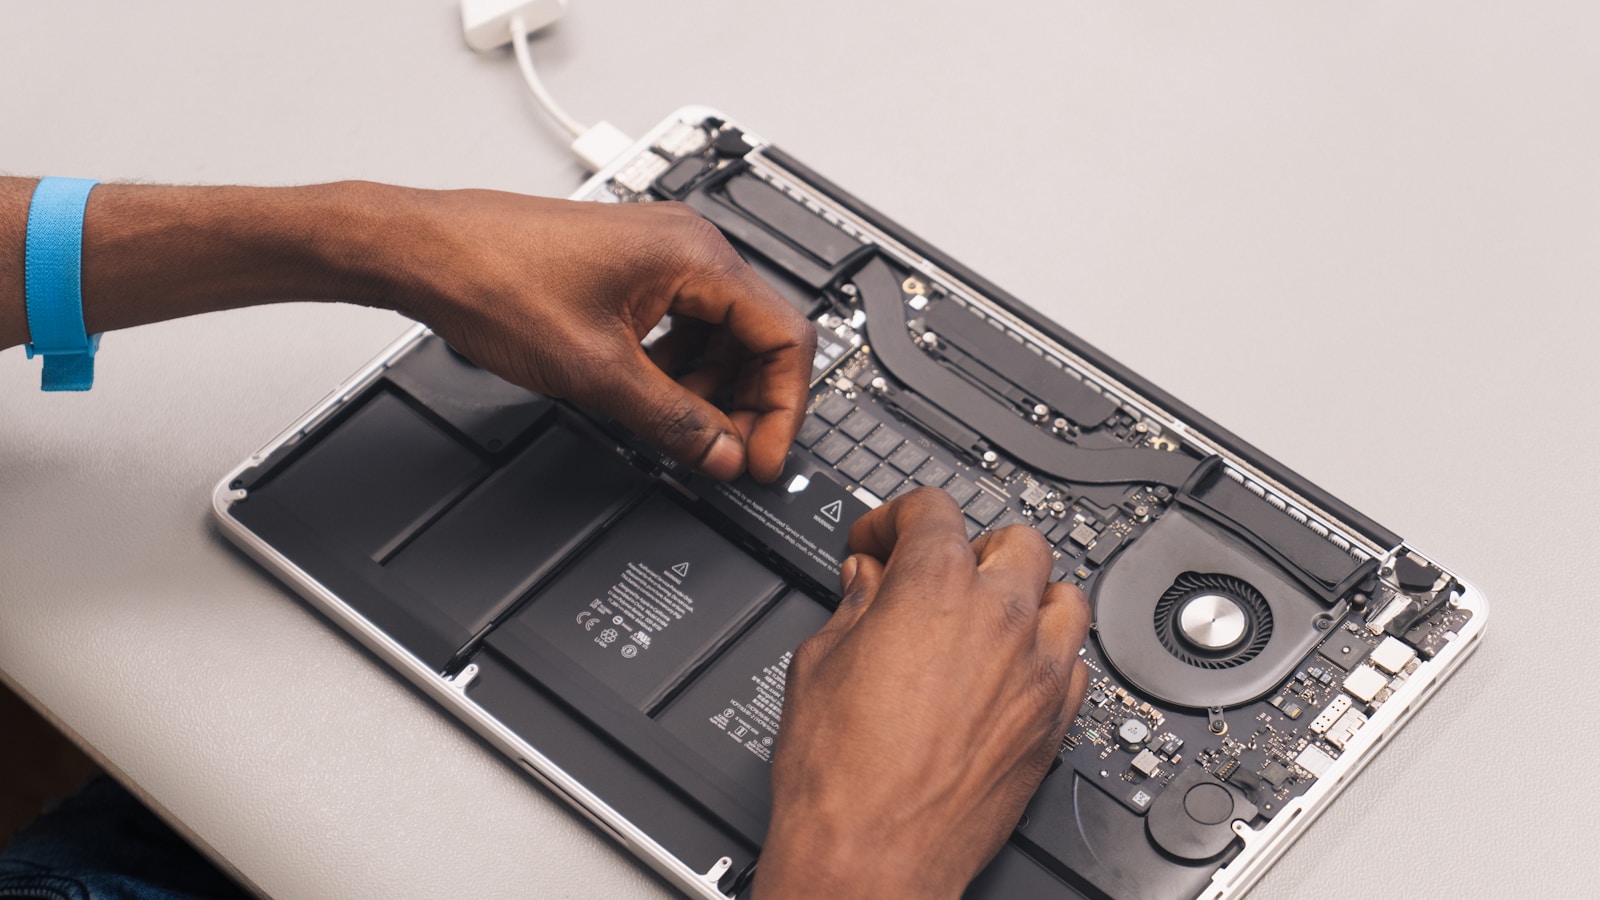
Over time, computers accumulate dust, dirt, and debris, which can affect both their performance and longevity. A clean computer runs more efficiently, stays cooler, and can even help prevent hardware issues caused by overheating or clogged components. Whether you use your computer for work, gaming, or personal use, regularly cleaning it will ensure that it operates at peak performance. However, cleaning a computer requires careful attention and the right techniques to avoid causing damage to delicate components.
In this detailed guide, we’ll walk you through the steps on how to clean your computer safely without causing harm to its internal or external parts. From cleaning the keyboard and screen to addressing the internal components, this guide will cover everything you need to know.
1. Turn Off and Unplug the Computer
Before cleaning any part of your computer, always turn it off and unplug it. This is crucial for your safety and to prevent any accidental damage to the components. If you are cleaning a laptop, make sure to also remove the battery if possible. Unplugging the computer ensures that there is no chance of electrical shock and reduces the risk of short circuits, which can happen if moisture from cleaning products or static electricity enters the system.
Why This Is Important:
Cleaning the computer while it’s powered on can result in serious damage if moisture or static electricity comes into contact with electrical components. Additionally, the moving parts inside your computer, such as the fans, should be stationary while you clean to avoid any risk of injury or damage to delicate internal parts.
2. Gather the Necessary Cleaning Supplies
Cleaning a computer requires a few specific tools and supplies to ensure that you don’t scratch or damage the components. Avoid using household cleaners like glass cleaners, as they can damage the screen and internal parts. Instead, use the following items to clean your computer safely:
Essential Cleaning Supplies:
- Microfiber Cloths: These soft, non-abrasive cloths are perfect for cleaning screens and other delicate surfaces without leaving scratches.
- Compressed Air Canister: Use this to blow out dust from hard-to-reach areas like the keyboard, vents, and internal components.
- Isopropyl Alcohol (70% or higher): Isopropyl alcohol evaporates quickly and won’t leave residue, making it ideal for disinfecting and cleaning components.
- Cotton Swabs: These can help clean small, tight areas like keyboard keys or crevices around the ports.
- Soft Brush: A clean, soft-bristle brush (like a makeup brush) can help remove dust from the exterior or interior without scratching surfaces.
- Screwdriver Set: If you’re cleaning the interior of a desktop, you’ll need screwdrivers to open the case. Laptops may also require a specialized set of tools depending on the model.
Avoid paper towels, tissues, or abrasive cloths, as they can leave lint or scratch the surface, especially on screens and glossy areas.
3. Clean the Exterior Case and Ports
The exterior of your computer, including the case and ports, can collect dust, fingerprints, and dirt over time. Cleaning the outside is relatively straightforward but must be done carefully to avoid pushing dirt into delicate areas like the vents and ports.
Steps for Cleaning the Exterior:
- Wipe down the case: Use a slightly damp microfiber cloth to wipe down the computer case. Dampen the cloth with water or a mixture of water and isopropyl alcohol (in a 70/30 ratio). Never spray liquid directly onto the computer.
- Clean the ports: Use a compressed air canister to blow out dust from the USB, HDMI, and other ports. Hold the canister at an angle to avoid blowing moisture into the ports.
- Brush away dust: For stubborn dust in vents or crevices, use a soft brush to gently remove debris without scratching the surface.
Tips:
- Never use a vacuum cleaner, as the static it generates can damage internal components.
- Ensure that no liquid enters the ports or vents, as moisture can damage the hardware inside.
4. Cleaning the Keyboard
The keyboard is one of the dirtiest parts of your computer, as it can accumulate dust, food crumbs, and oils from your hands. Cleaning the keyboard will improve both its appearance and functionality, as dirt can affect the responsiveness of the keys.
Steps for Cleaning a Keyboard:
- Turn the keyboard upside down: Gently shake the keyboard upside down to dislodge any loose debris like crumbs or dust.
- Use compressed air: Blow compressed air between the keys to remove dirt that has accumulated underneath. Be sure to hold the canister upright and use short bursts of air to avoid moisture buildup.
- Clean the keycaps: Dampen a microfiber cloth with a small amount of isopropyl alcohol and gently wipe down the keycaps. For more stubborn grime, use a cotton swab dipped in alcohol to clean around the keys.
- Remove keys (optional): If your keyboard has removable keys, you can carefully pop off the keycaps with a flat tool or your fingernail and clean underneath them. This is especially useful for mechanical keyboards.
For laptops, follow the same process, but avoid using too much force when wiping the keys, as laptop keys are more delicate and prone to breaking if mishandled.
5. Clean the Screen
The screen of your computer or laptop is a sensitive component that requires special care when cleaning. Harsh chemicals or abrasive materials can damage the screen’s protective coating or cause permanent scratches. It’s important to use gentle techniques to keep your screen looking clear and clean.
Steps for Cleaning the Screen:
- Turn off the screen: Make sure the computer is off, and the screen is cool to the touch before cleaning. This prevents streaks from forming during the cleaning process.
- Use a dry microfiber cloth: Gently wipe the screen with a dry microfiber cloth to remove any dust or smudges. Use light pressure to avoid damaging the display.
- Dampen the cloth (if necessary): If there are more stubborn smudges or fingerprints, lightly dampen the cloth with water or a small amount of a screen-safe cleaner. Avoid using harsh cleaners like Windex, as they can strip the protective coating on the screen.
- Wipe in a circular motion: Wipe the screen in gentle, circular motions to prevent streaking. Once clean, use a dry part of the microfiber cloth to remove any excess moisture.
Tips:
- Never spray cleaning solutions directly onto the screen.
- Avoid pressing too hard on the screen, especially on LCD or LED displays, as they can be damaged by excessive pressure.
6. Dust and Clean the Vents
Over time, dust can accumulate inside the vents of your computer, restricting airflow and causing the system to overheat. This can lead to reduced performance and potential hardware damage. Keeping the vents clean ensures that your computer’s cooling system functions properly.
Steps for Cleaning the Vents:
- Use compressed air: Aim a canister of compressed air at the vents, using short bursts to blow out any dust that has accumulated inside. Hold the canister at a slight angle and make sure not to spray too close to avoid moisture buildup.
- Brush stubborn dust: If there is a lot of dust buildup, use a soft brush to gently loosen and remove it from the vents.
- Clean surrounding areas: After blowing out the vents, wipe down the surrounding areas with a microfiber cloth to remove any dust that has settled on the case.
Regular cleaning of the vents is crucial, as clogged vents can cause overheating, leading to performance issues and potential hardware failure.
7. Clean the Internal Components (Desktops)
For desktop PCs, cleaning the internal components is essential to maintaining optimal performance and preventing overheating. Over time, dust can accumulate on the motherboard, fans, and other internal components, leading to reduced airflow and potential hardware damage. Cleaning the inside of your desktop requires careful handling to avoid damaging delicate parts.
Steps for Cleaning the Internal Components:
- Open the case: Using a screwdriver, carefully remove the side panel of your desktop’s case. Place the computer in a well-ventilated area, preferably on a hard surface rather than carpet, to avoid static buildup.
- Use compressed air: Use short bursts of compressed air to blow dust off the motherboard, CPU fan, power supply, and graphics card. Be careful not to spray directly onto any sensitive components, and hold the canister upright to prevent liquid from escaping.
- Clean the fans: Dust buildup on the fans can reduce their effectiveness and cause overheating. Use compressed air to blow dust out of the fan blades, and gently hold the fan in place to prevent it from spinning during cleaning.
- Wipe down surfaces: Use a microfiber cloth to wipe down any flat surfaces inside the case, such as the hard drive bays or the inside of the side panel. Avoid touching any exposed circuitry with your fingers or the cloth.
Tips:
- If you’re unfamiliar with the internal components of a computer, consider seeking professional help to avoid damaging sensitive parts.
- Always ground yourself before touching internal components to prevent static discharge, which can damage the hardware.
8. Disinfect High-Touch Areas
In addition to cleaning for performance, it’s important to disinfect high-touch areas on your computer to maintain hygiene, especially the keyboard, mouse, and power button. These areas can harbor bacteria and germs from daily use.
Steps for Disinfecting:
- Dampen a cloth with isopropyl alcohol: Use a microfiber cloth lightly dampened with 70% isopropyl alcohol to wipe down the keyboard, mouse, and power button. Isopropyl alcohol evaporates quickly, reducing the risk of moisture damage.
- Disinfect the mouse and keyboard: Focus on high-touch areas like the mouse buttons and keyboard keys. Use cotton swabs dipped in alcohol to reach smaller spaces between the keys.
- Let surfaces dry: Allow all disinfected surfaces to air-dry completely before turning the computer back on.
Avoid using harsh chemical disinfectants like bleach or ammonia, as these can damage the materials on your computer.
9. Reassemble and Power On
Once you’ve cleaned all the components and allowed them to fully dry, reassemble your computer if you opened the case. Replace the side panel on your desktop and ensure all cables are reconnected properly. If you cleaned a laptop, reinsert the battery. Once everything is in place, you can power on the computer and ensure that it’s working correctly.
Tips:
- Listen for any unusual noises, like loud fan sounds, which could indicate a problem with the fan alignment after cleaning.
- Test the functionality of the keyboard, mouse, and screen to ensure that everything is working as expected.
10. Regular Cleaning Schedule
To prevent the buildup of dust and grime, it’s important to establish a regular cleaning schedule for your computer. How often you should clean depends on your environment and usage. If your computer is in a dusty area or you have pets, you may need to clean it more frequently—around every 3–4 months. For less dusty environments, cleaning every 6 months should suffice.
By regularly cleaning your computer, you ensure that it continues to run efficiently, stays cool, and has a longer lifespan. A clean computer is a healthy computer, and with the right care, you can prevent performance issues and avoid costly repairs in the future.
Cleaning your computer is an essential part of maintaining its performance and longevity. By following these steps, you can safely and effectively remove dust, dirt, and debris from both the interior and exterior components of your computer. From cleaning the keyboard and screen to dusting out the vents and internal parts, each step is designed to help keep your computer running smoothly without causing damage. Remember to use the right tools and take your time, as a gentle, careful approach is key to preserving your computer’s functionality. Regular cleaning ensures that your device remains in top condition for years to come.


